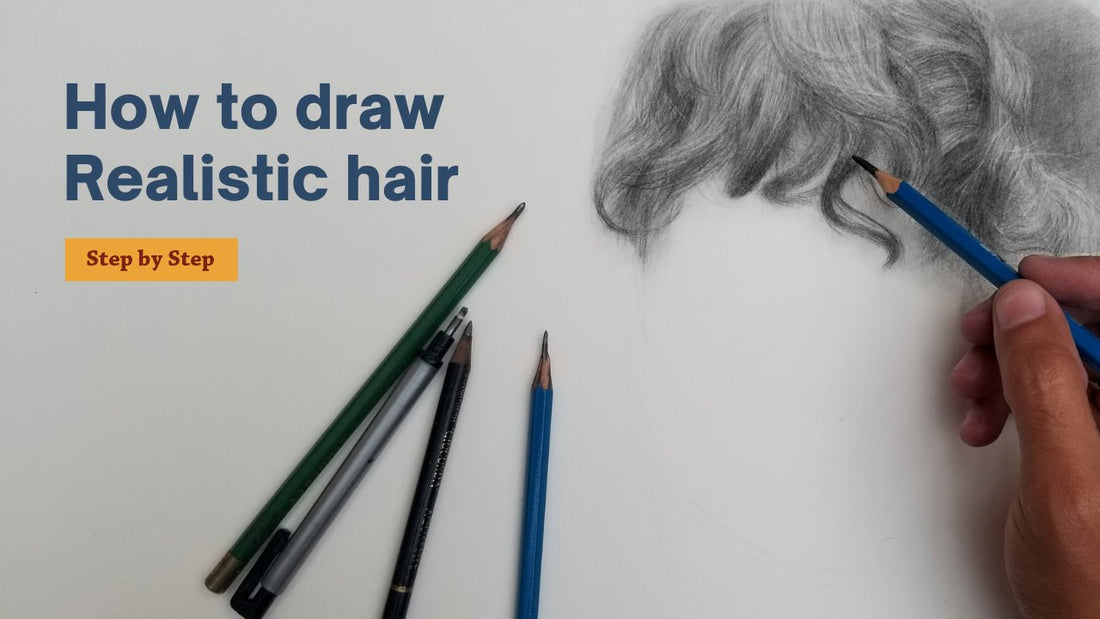
How to Draw Realistic Hair (Step by Step)
Share
If you want to draw realistic hair, but think it is difficult, then don't worry most people think like you!
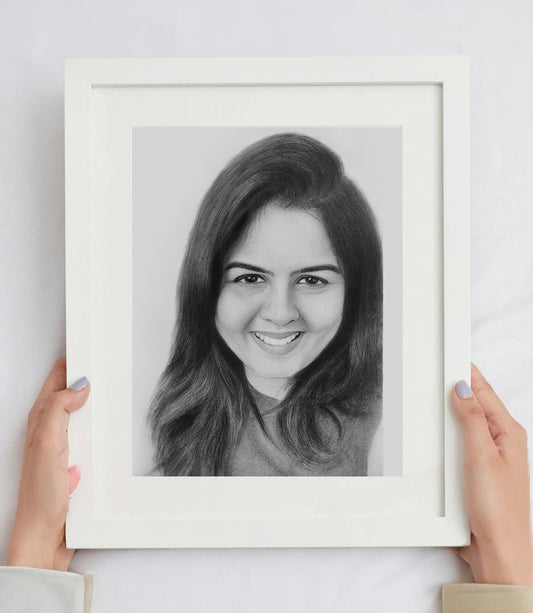
I guaranteed after reading this you will be able to draw any kind of hair from any photos, like this.
So let's start…

Step #1 – Try to choose the best quality photo
First, It is very important to have a good quality of your photo to draw any drawing properly.
And by the good quality photo, I mean that the light and shadows should be properly visible on it.
The better the photo, the easier it will be easy to see the difference between dark and light values for you.
As you can see in this reference photo, how easily both dark and light values are visible.

Step #2 – Start shading from the dark side
As soon as you get to know the difference between the dark and light parts, then start the shading from the darker part, and use the same pencil for both.
I would recommend starting with 4B pencil because it is a middle tone pencil. with this, you can create both dark and light values very easily.
And while shading, don't just apply strokes in any random direction, make sure your strokes are in the direction of the hair,
also maintain your pencil pressure according to values, for example, keep slightly more pressure for the dark part and lighter for the light part
And then your result would be something like this,

Step #3 – Blend with cotton or brush
In this step, you have to blend both parts with cotton. you can also use a brush if you want, but I always prefer to use cotton to blend on the first layer.
Step #4 – Repeat all processes again
Then you have to repeat the same process but this time with more dark pencils, like in step #1 we used 4B, this time we will use 6B or 8B.
If you have a charcoal pencil, you can also use that
but make sure that the strokes should be in the hair's direction and fill the entire area carefully.
and after that again blend this all with cotton, this time you can use the brush as well.
then your result would be like this,

Step #5 – Make Highlights with eraser
And then carefully observe the photo and do some highlights with the eraser, do it with patience, and slowly
and remember its direction should also be according to the hair
here I am using mono zero eraser for highlights but in case you don't have this, then you can use any normal erase, but use it from the corner side

Step #6 – Do Final touches
Now it's time to do the most important part of any drawing. In this final touches part, you have to observe the whole photo and have to shade everything again with more details.
Just observe dark and light values.
In both (Reference photo or Drawing)
If you feel that your drawing has become a bit light then compare it to the original photo, then darken it
and if it is darker than light it and keep doing it until you do not think that it has become perfect now.
and after that, your result would be something like this.

Note – If you follow the same method that I have told you and even after that do not get the same result, then there is nothing to worry about
It will be because my practice is many times more than yours. it all depends on the practice.
But I have given you a way so that you can get the same result within 1-2 years, which I took 3-4 years to achieve. So keep practicing with patience.
And if you have any doubt, just simply do comment, I will definitely reply to you.

3 comments
Cool, will follow this, simplest way to learn i think
Cool, will follow this, simplest way to learn i think
It’s such a amazing explanation of realistic hair’s shade for begginers…they learn easily and improve their works better than previous work..!!
Thnk u veryy for this!!💐